The RV Kitchen:
| I installed a horizontal furring strip just under the windows with more self-drilling/self-tapping drywall screws and construction adhesive. 1" foam was installed above and below the seat ledge. On the far right, where the refrigerator, is I painted the window inside black, silicone sealed it shut and insulated up to the electical race. |  |
|
| Since there will be cabinets along this wall I just used more self-drilling/self-tapping screws to attach the panelling to the seat ridge. |  |
|
| I had two likely kitchen cabinet carcuses, they where built up from 3/4 lumber rather then particle board so it was a simple matter to trim them to fit. 31" high, 22 1/2" deep, just a little deeper then the sink. |  |
|
| Once I had the locations worked out I built a platform and face frame for the sink and started on a bookcase to go across from the dinette. I decided to go with 3/4 birch ply for the top because, well, that's what I had. | 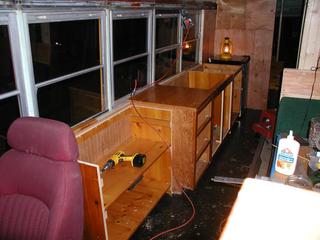 |
|
| Here's the kitchen with the bookcase face frame and cabinet doors installed. In addition to screwing them to the plywood floor and strapping on the wall, I'll through-bolt their 3/4" ply bases to the bus floor. The range should be in this week and will go to the right of the sink. |  |
|
| The finished counter with stove. The counter-top will get a light sanding and a coat of poly-urethane. The cabinets will be painted - color TBD. |  |
|
| Another view of the completed counter. | 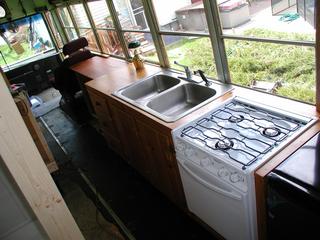 |
|
| I built the face frame in sections, mostly because I am down to short pieces of
wood from the Craiglist Knotty Pine Kitchen consignment. The joints are simple, glue, clamp, drill, countersink, drive 3" drywall screw in. |
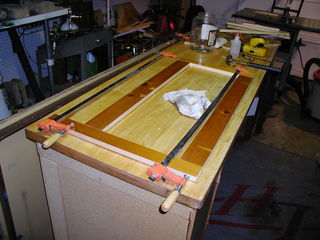 |
The cabinet doors are from our friend's kitchen renovation, as is the workbench top. (Thanks Bob & Pam!) |
| The joints are simple, glue, clamp, drill, countersink, drive 3" drywall screw in. | 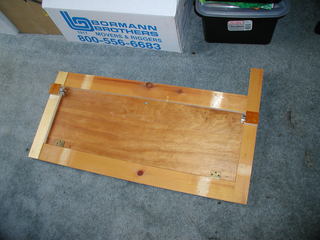 |
|
| A piece of angle iron is attached to the ceiling to hold the face frame. It's pre-drilled and I will use 3/4" sheet metal screws into the back of the face frame to secure it. |  |
The angle iron is chromed and from an old
exercise machine. Rowing machines, treadmills and the like are excellence sources of steel stock. |
| The face frame in place. I filled the space between the top and the ceiling with polyurethane construction adhesive, partly to give it strength but also to add acoustical stiffness to the roof panels. | 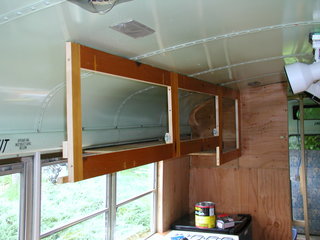 |
|
| Here's the bottom shelf going in, it is attached to another piece of angle iron
suspended from the same screws that hold the wiring cover in place. I cut this length of cover to the same length as the cabinets since it will be impossible to remove it after the cabinets are in place. It is, however, short enough to easily fish wires through if needed. |
 |
So far all of the plywood used in the
interior is from a builder in the next town. They sheath a house and then use a router to cut out the windows, the winow blanks end up curbside. |
