Dinette, Seatbelts, and Cushions:
| Will it ever stop snowing?! |  |
|
|
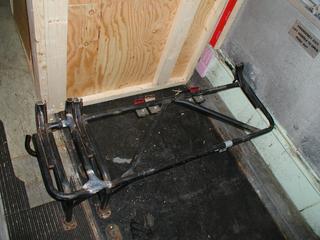
I've decided to use the original bus seat frames for the dinette seats. My bus was built for NY and, as such, came with seatbelts for all passengers. By using the seat frames for the base of the dinette seats I can use the original seatbelt attachment points. In order to make the base the 42" wide that I wanted I cut a piece off a second seat and welded it in place. The backs have also been removed. |
 |
|
|
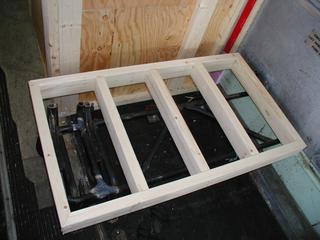
I want the dinette to sit a little higher then the original bus seats. The dimensions of the base are 24" x 42" x 16" high and there will be a 4" cushion on top of that. The wooden seat is attached to the seat frame with the same steel bands used to attach the original seat cushions. I doubled up the numbers of bands and used 5/16 x 2 1/2" lag bolts rather then the original #12 sheet metal screws. |
 |
|
| The backs are 24" high and 10 degrees reclined. | 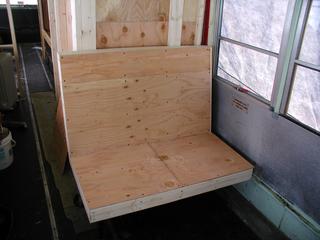 |
|
| The dinette seats framed in. I will make a face with an inset panel for the end of each bench when I get to the finish carpentry. There will also be a step along the front of each seat so that the table top (36" x 42') can be lowered to form a bed. The total sleeping area will then be 42" x 75", about the size of a double bed. | 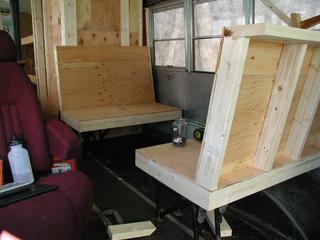 |
|
| Insulation and strapping. I've taped the joints wherever possible as a vapor barrier. The strapping is screwed to the ribs and interior sheet metal with self tapping drywall screws and glued with polyurethane construction adhesive. BTW: The polyurethane based stuff is much nicer to use in the enclosed bus (lower VOCs) and seems to cure better at lower temperatures then the regular "Liquid Nails". |  |
|
| Paneling and sill. The sill is old oak flooring. The paneling is one of the few things I've purchased, I wanted a consistent look throughout the bus and that's hard to accomplish with materials from the dump! OK, many of the 2x4s were purchased too. | 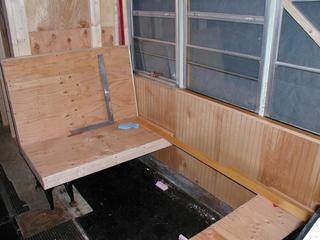 |
|
| The finished table is made from a solid core door slab from Home Depot, the legs are 3/4" lumber laminated together and the turnings are from a couple of old hat stands I had in the wood pile. I'll put some copper flashing on the tops of the legs to protect the paint - that is, of course, once I choose a color. | 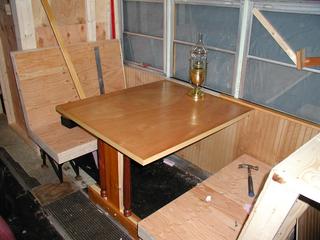 |
|
| To simplify construction of the seat cushions I just stapled the fabric over the foam to a piece of 1/4" B/C plywood. I used high-density foam and some fiber batting over the foam blank. |  |
|
| I put double-stick duct tape between the fabric and the plywood before stapling to strengthen the connection and strips of regular duct tape on the edges of the plywood because I was afraid the edges would abrade the fabric over time. | 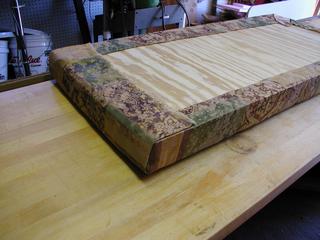 |
|
| The completed cushions. | 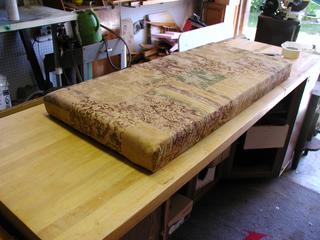 |
|
| The board for the back of the seat was cut a little long so it would hold the cushion about the seat, this provides just enough room to tuck the seat belts away when not needed. The cushions were attached to the base with 3/4" sheet metal screws. | 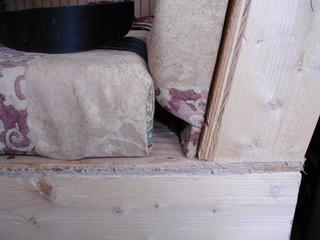 |
|
| The finished bench with seat belts out . . . | 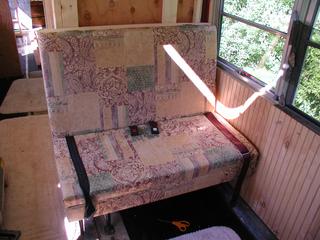 |
|
| . . . and with seatbelts stowed. | 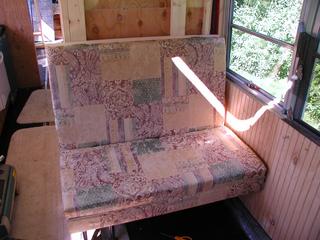 |
|
| Since the forward dinette seat is not up against a bulkhead I wanted it to be strong. This framing will also provide some additional storage at the front of the bus. | 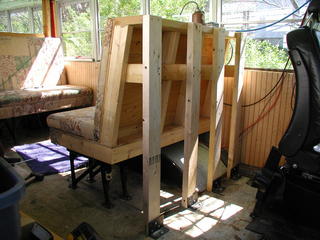 |
|
| This is the last of the wide pine paneling, I have only one more piece I am saving for over the mirror at the back of the dinette. | 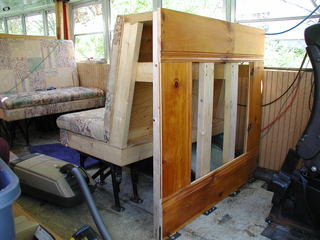 |
I found a dozen or
more boards of this 3/4" pine paneling in the wood recycling dumpster at our transfer
station a couple of weeks ago. It was great stuff! Few cracks, no warpage and all of the nails had already been pulled! |
| The dinette all trimmed out including the door for the storage area in front off (behind) the seat. | 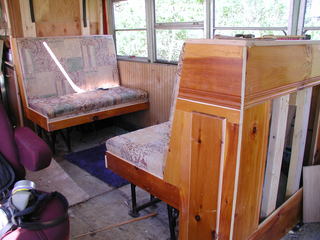 |
|
 With the table legs folded up the table top drops to the rails at the front of the seats and the whole dinette become a full sized bed. |
||
| The dinette/bed from a different angle. |  |
|
| A cloth panel matching the dinette seats completes the back | 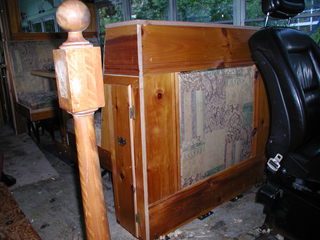 |
|
| The mirror framed at the back of the dinette. I think a nice gimble mounted shipboard kerosene lamp would look good next to the mirror, or maybe a brass barometer. | 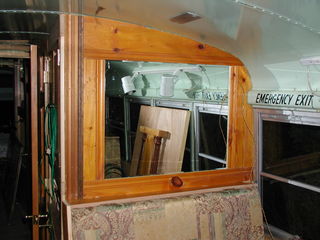 |
|
