Propane and Stove:
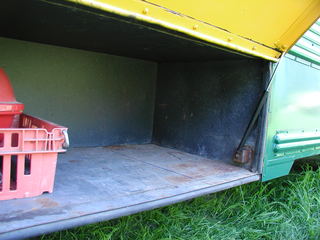
| Originally I had plans to build a cabinet to hold the propane bottles under the bus
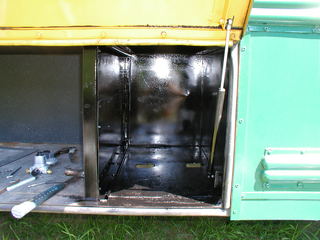
because I didn't want to give up valuable cargos space. However, partitioning the existing bay is so much simpler therefore the KISS principle dictates I use it. |
 |
|
| Two bottles fit nicely after I cut out the top of the bay. | 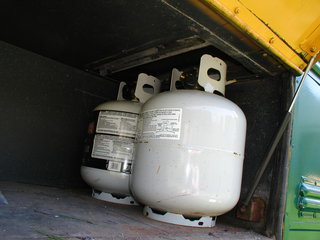 |
|
| The partition is screwed in with sheet metal screws and I've "vented" the bottom of
the bay by making two holes with my cutting torch. They'll be a foam gasket between the cargo bay and the gasworks. |
 |
The partion is made from a couple of pieces of steel shelving screwed together. I think these came from a place I worked at in the mid nineteen-eighties! |
| Here's one bottles in place and connected to the regulator. | 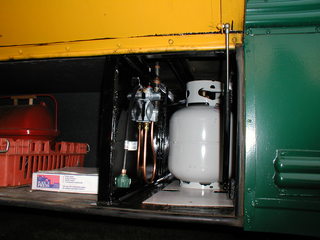 |
|
| I used one of the old seatbelts to secure the tanks. | 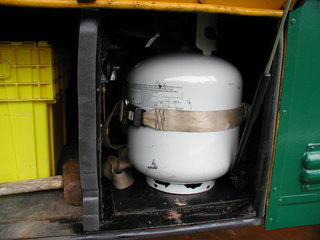 |
|
| Black iron pipe is used on the exterior of the bus and changes over to copper tubing upon entering the living area. | 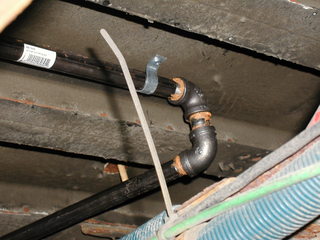 |
|
| I used a piece of computer power cord as a mandrel to make a sharp bend in the copper tubing. |  |
|
| To prepare the end of the tube you have to use a special tool to flare it. Don't forget to put the nut on first! | 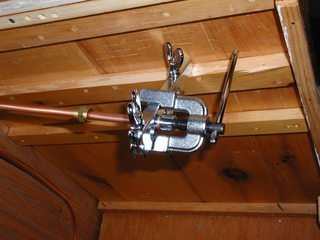 |
Home Depot has the flaring tool, pipe and tubing. The flaring tool was about $20. |
| Routing the tubing through the cabinet for the stove. | 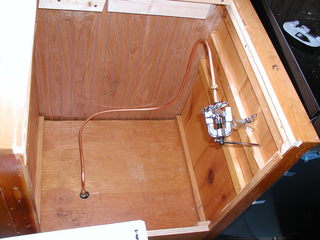 |
|
| The stove slides in and the tubing connects to a fiting on the manifold. | 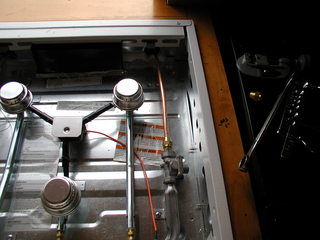 |
The stove came from Timbucktu, my local RV store. It was about $350 new. |
