Building a Workbench/Cart with Old Bed Frames:
This week I rescued a couple of desktops from an industrial park dumpster, they were in good shape though the bases were either missing or damaged. I had been about to purchase a solid core door blank from Home Depot to make a workbench out of but I realized that 2 workbench/carts would actually work better in my small shop.
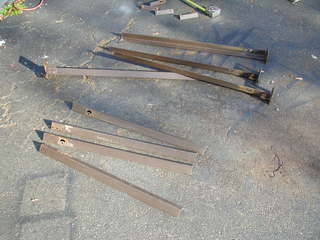
These two bench/carts were made entirely of reclaimed material, primarily bed frame angle iron.
| Step 1 is to remove the two sections of the frame that hold the wheels from the
main length. I used an angle grinder with a cut-off wheel to remove the rivets
that attach them. |
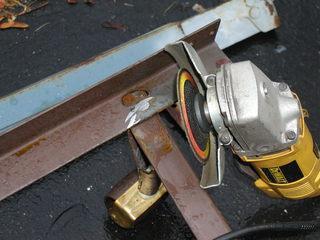 |
Abrasive wheels are really the best way to cut old bed frames. The steel is rolled forged high-carbon steel, it's very tough and very hard. A hacksaw will barely touch it. |
| You'll need two bed frames for each bench/cart you wish to make. The
typical bed frame will support a top up to 8 feet long and 3 feet wide.
However, I'm making much smaller benchs, about 2 feet by 4 feet and 36"
high. |
 |
|
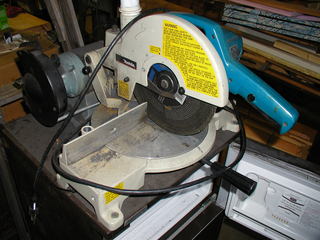
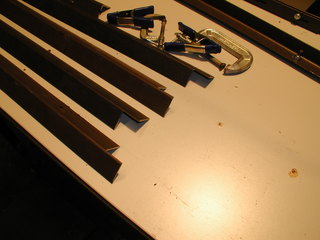
| A chop saw with a metal cutting blade is an easy and quick way to cut lengths and
miters. |
 |
|
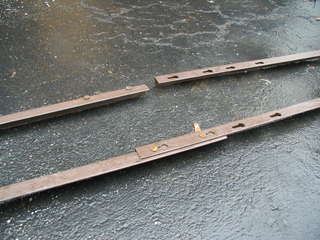
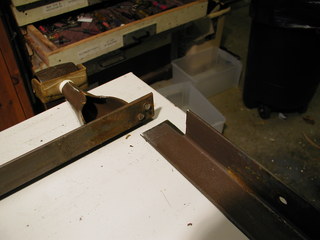
| Depending on the length of your top and the size of the bed your frame came from
you may be able to use the keyhole and peg inter-lock to connect the two base pieces
together. |
 |
|
| My top is only 4 feet long so I cut off the pegs and drilled and bolted the base
pieces together. |
 |
|
| Next I cut 4 legs. The casters and mounts are 7 inches from the bottom of the
wheel to the top of the rail. These 28 inch legs and the thickness of the top
will bring the workbench to a total height of 36". |
 |
|
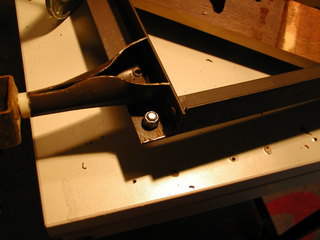
| The legs need to be notched so that they can be bolted to the base. |
 |
|
| Here is how the legs attach to the base. |
 |
|
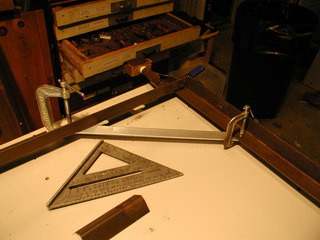
| Clamp the angle iron together with a scrap of wood to maintain a 90 degree
angle. |
 |
|
| Use a slow speed to drill the angle iron, if you use too high a speed the drill bit
will heat up and dull very rapidly. |
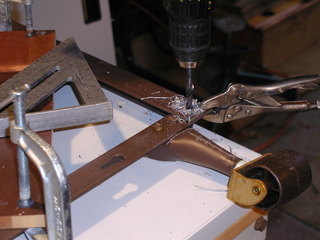 |
I
sharpened my 5/16" drill bit 4 times during this project. I used 5/16" hardware because I had a bunch hanging around - 1/4" bolts would probably be fine and the smaller holes would be easier to drill. |
| The finished leg joint. |
 |
|
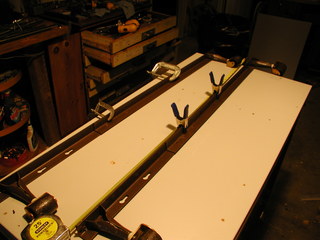
| Now we miter four lengths of angle iron from another frame for the bench top skirt. | 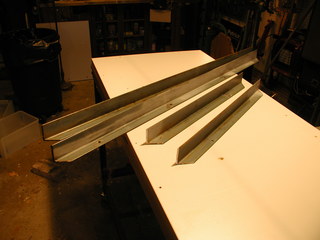 |
|
| Drill holes in the skirt and screw it to the top with #12 x 1" sheet metal screws. | 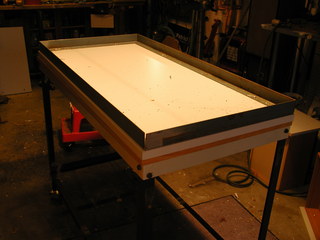 |
|
| Now clamp, drill, and bolt the legs to the skirt. Check for an angle of 90 degrees before making each hole. | 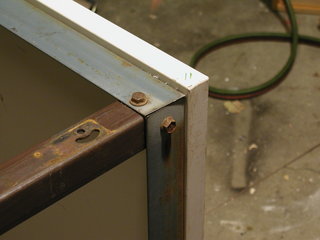 |
|
| Braces are required to make the bench sufficiently rigid. | 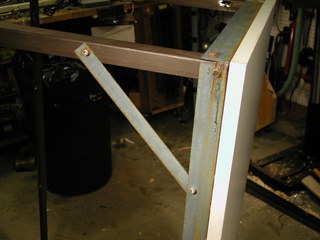 |
|
| Finally, the lower leg braces/shelf supports are installed. | 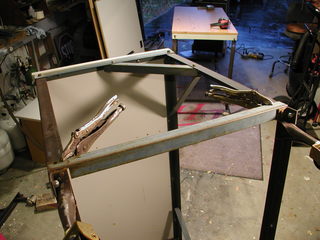 |
|
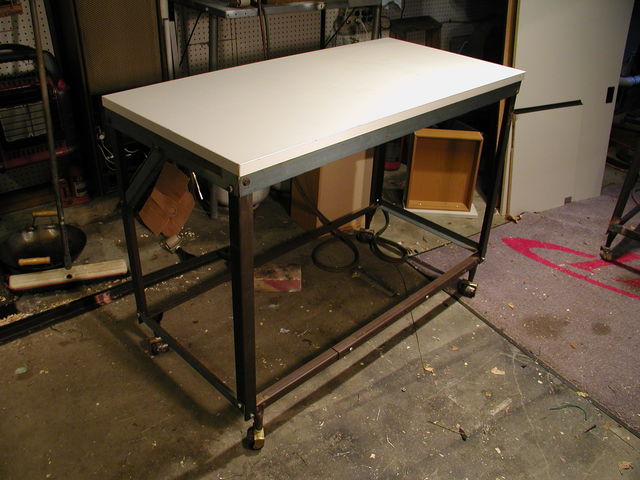
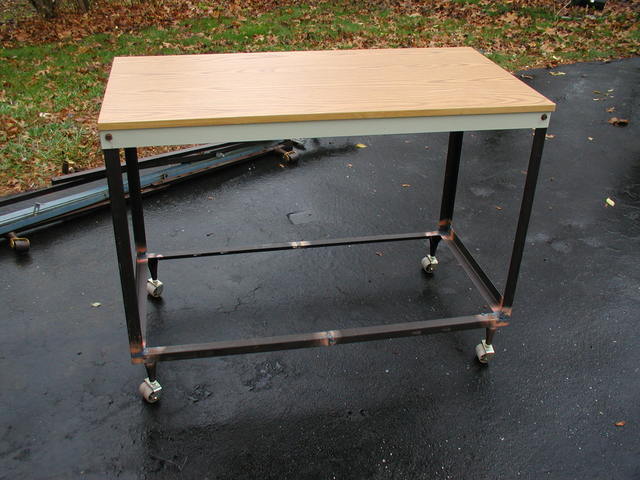
The finished bench cart. Cost of materials $0, time to build about 6 hours.
Here's a bench/cart I made earlier, this one is welded and took only about four hours to build. Because it's welded it does not require the braces for rigidity. If you decide to weld your workbench be sure to remove the plastic inserts that retain the wheels before welding as they'll melt.
