Motorhome Plumbing:
|
These are the two tanks I ordered from Plastic-Mart.com . |
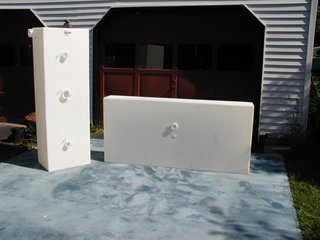 |
The salesman, "Tank" (yes, really!) was very helpful and they provided and installed the spin welded fittings gratis. The tank at left in the black & gray tank and the one at right is the potable water tank.The fittings on the BG tank are all slip in and the fittings on the water tank are threaded. I'm not sure what is normally used, but these options are working out so far. |
|
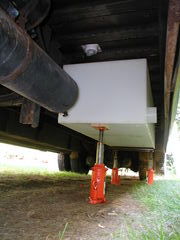
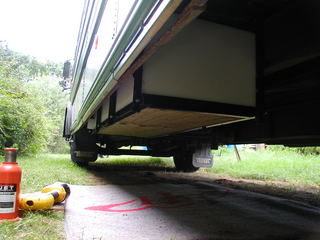
Here is the BG tank jacked into place under the bus. It's a little tight at the dump outlet but everything should fit OK. I will cut the skirt and install a frame for the dump valve door and a 2" skirt extension that will match the profile of the under bay storage on the other side of the bus. |
 |
|
|
Here is the support frame for the BG tank coming together. It's made from 1 1/4" angle iron from old bed frames. It welds nicely with an oxyacetylene torch but is tough to drill - use a low speed and cutting oil and a drill the parts on a drill press rather then trying to use a hand drill. |
 |
|
|
Fitting the frame to the tank. I had to trim the area under the dump valve with the angle grinder and a cut-off wheel. This stuff is very hard on any sort of saw, I used a power miter-box and an abrasive metal cutting wheel to cut all of the stock. |
 |
|
|
Here's the completed frame assembled. I used 3/8" bolts, nuts and locks. The frame is painted with gloss black Rustoleum Protective Enamel.I put a sheet of 1/2" pressure treated ply down to protect the bottom of the tank from road debris and to give it a little extra support. |
 |
|
|
I cut slots around the edge of the plywood to provide some drainage so water couldn't collect inside the angle iron at the edge of the ply. |
 |
|
|
I didn't want to drill through the floor to hang the tank so I made a bunch of these 9" long sections and they clamp the upper rail to the underside of the floor. There are 16 in all so each will only need to carry 50 LBs with a full tank. That's what I call Blackwater Security! [rimshot] ;-) |
 |
|
|
Here's the frame ready to receive the tank. You can see a bit of the black iron gas pipe for the hot water heater at the top of the frame. |
 |
|
|
The tank ready to go in. All of the fillings on the top are slip-in types so the tank should be easily removable in case of need. |
 |
|
|
The tank in place. The floor turns out to slant down about a 1/4" towards the outside, this threw off my geometry a bit. Some of the bolt head press kind of hard into the tank sides so I will make some shims to prevent them from damaging the tank over time. |
 |
|
|
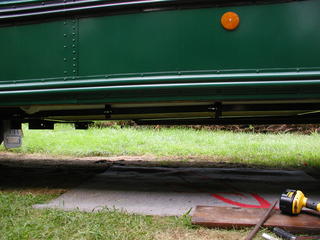
The black and gray tanks hangs down to exactly the same level as the bottom of the cargo bay on the other side. |
 |
|
|
View from the side, the two bits at left sticking out below the tank are the bracket for the fuel tank, they are the lowest points between the axles. |
 |
|
|
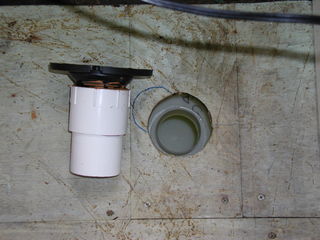
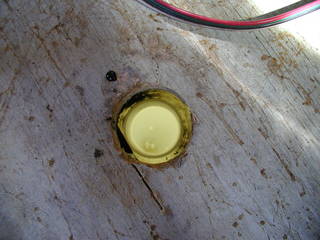
This is the opening for the toilet flange, I cut this hole first and used it as the reference point for all of my subsequent measurements. |
 |
|
|
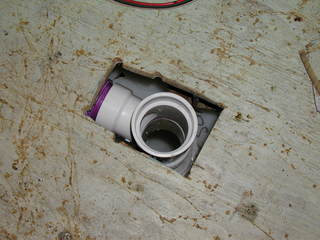
The flange screws into an adapter that's glued to a short section of 3" pipe. I got the RV flange at O'Connor's Hardware (it's just hardware store, not an RV place, but they have a half isle of RV stuff. Check that, it's not just a hardware store, its the best damn hardware store in the greater Boston area.) The other fittings are standard PVC stuff. |
 |
|
|
I drilled this hole blind with a 2 1/4" holes saw based on the fax I sent to Plastic Mart for the location of the fittings. Sometimes you just have to use The Force. |
 |
|
|
Unfortunately 2 1/4' wasn't large enough for the tee that had to stick up through the floor so I had to cut out a larger hole with the sawzall. |
 |
|
|
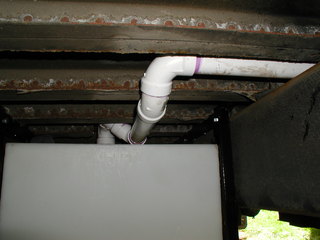
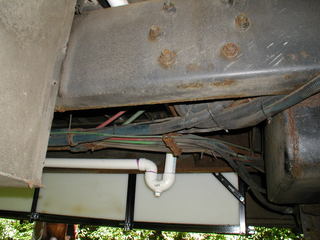
The drain for the kitchen sink has a way to go, out from under the floor channel then up and over the buses frame. |
 |
|
|
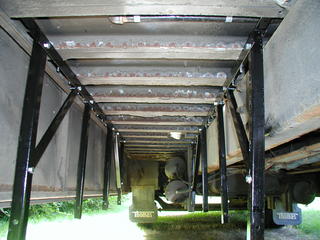
Down the length of the frame. You can see the bundle of pneumatic hoses for brakes, throttle, air tanks, etc. that go up the center of the bus. |
 |
|
|
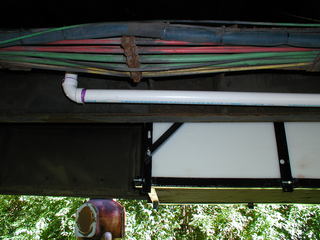
This seemed the best place to put the trap of the kitchen sink. It should let me drain this whole run easily when it comes time to winterize, |
 |
|
| And up through the floor to the kitchen sink. | 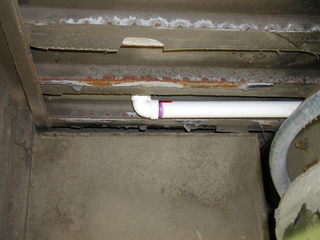 |
|
|
|
||
|
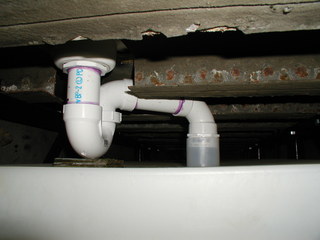
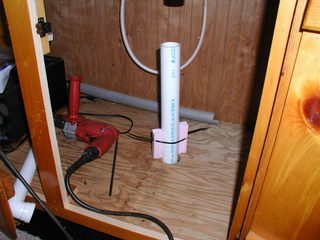
This is the trap for the shower, I went down to 1 1/4" pipe because the 2" trap just would not fit between the tank and floor. |
 |
|
| I had to heat the vent pipe with a propane torch and bend it slightly so it would be parallel where it went through the roof. | 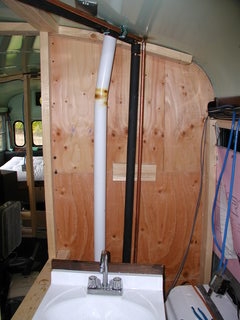 |
|
| Here's a little plastic vent cap to cover the end of the vent pipe. I used plenty of silicone seal around the pipe too. | 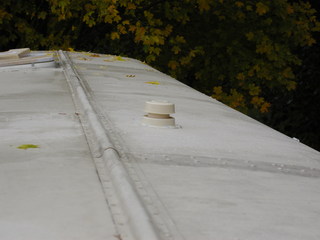 |
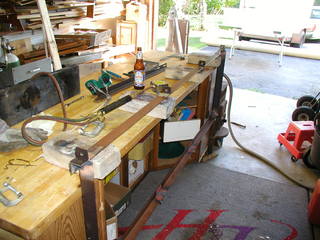
| I use a Makita power miter box saw to cut the angle iron, the 10" metal cutting wheels are available at Home Depot and last for maybe 100 cuts. | 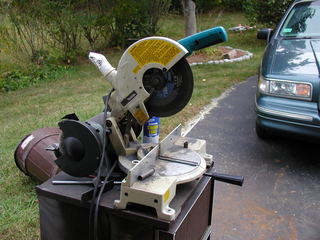 |
Most beds come with a frame made of 1 1/4"
angle iron. This stuff is quite hard and stiff, it will eat hack saw blade for
lunch so the best way to cut it is with an abrasive wheel. |
| I used the same method to construct the frame for the potable water tank that I did for the blackwater tank. However, since this tank will be mounted right up against the bottom of the frame rails I decided to mount it with threaded rod. |  |
There seems to be a steady supply of these frames, I come home with at least one with every trip to the town dump. |
| This arrangement made drilling up into the frame rails much, much easier. Be careful, on my bus the fuel line sat in the frame rail and I almost didn't see it until too late. | 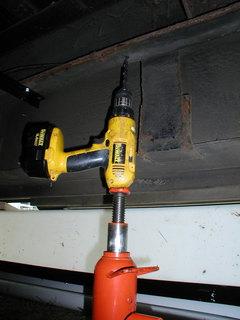 |
|
| The cross members have been bolted in along with the wooden spacer bars that the top of the tank will seat against. | 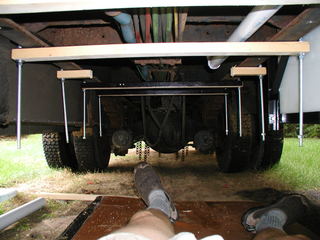 |
|
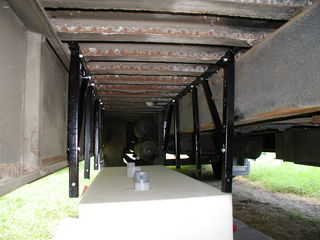
| The hoses are hooked up before lifting the tank into place. I had them install a single 2" NPT fitting in the top of the tank, I should have had a 1 1/2" and a 1/2" fitting installed for the fill pipe and the vent. I had to make up my own venting arrangement with a 1/2" barbed fitting glued into the top of a 2" elbow. | 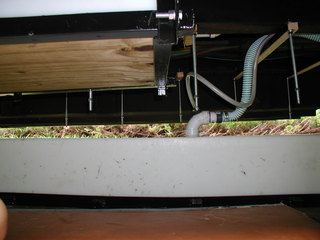 |
|
| Here's the tank in place. | 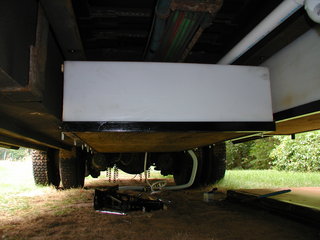 |
|
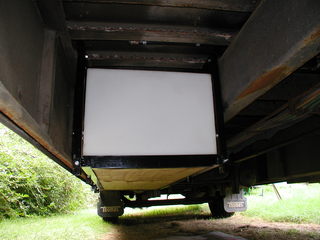
| Another view showing both tanks. |  |
|
| The filler door assembly with fill hose and vent tube. | 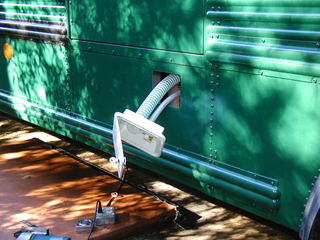 |
|
| I paid too much for this bit of plastic, I should have fabricated something, I'm getting lazy I guess. | 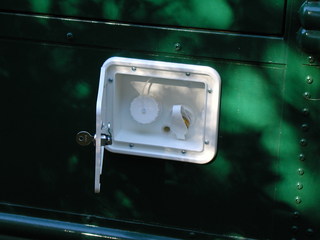 |
| I will fabricate a door for the waste valve, first step is to cut the skirt around the dump fitting. | 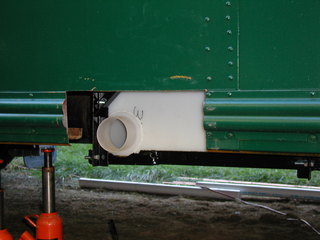 |
|
| More bed frame angle iron is used. | 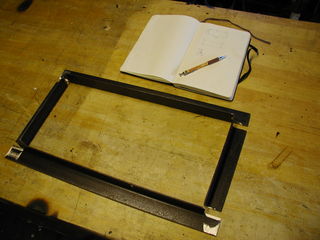 |
|
| Welding it up. | 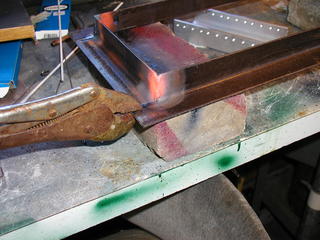 |
|
| Assembling the door. | 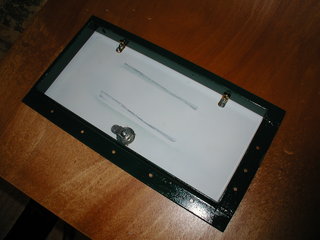 |
The door is another piece of PC case, the key lock was purchased. The two pins you see are bookshelf brackets. |
| All painted up. | 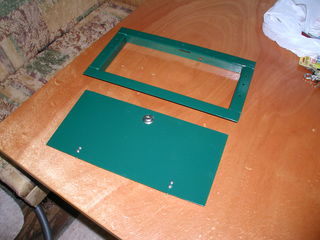 |
|
| And installed, there'll be more stainless steel bolts and a skirt in front of and behind the door. | 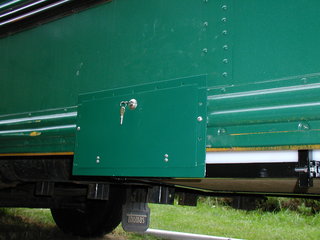 |
|
| Here's the complete assembly. |  |
|
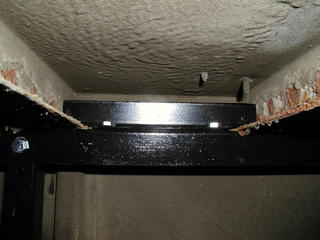
| I used a jig saw to cut through the side of the bus for the water heater. I had to come in just above the seat rail. To fill in the space between the rub rails I cut pieces of oak and painted them with the XO-Rust paint to seal them. I also shot big gobs of clear silicone goo up into the top rub rail to keep water out. | 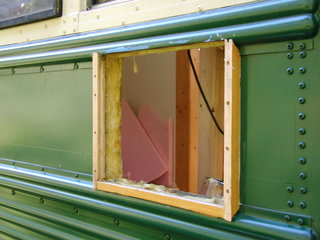 |
|
| Here is the installed water heater. It works well and heats up 6 gallons of water in about ten minutes. | 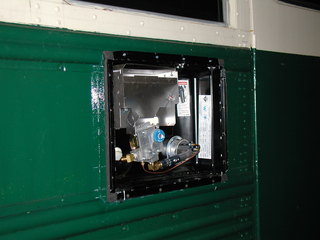 |
|
| Here's the water pump and connections under the bus. The pump has a built-in check valve as does the fill door assembly's hose connection so nothing special is required to use an exterior water supply. The pump can be heard in the bus but it's very quiet and I think I actually prefer to be able to hear it run, that way I'll know if there's a problem. | 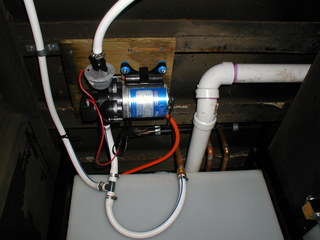 |
|
| I used standard 1/2" copper pipe because I'm very familiar with it and I had a bunch of pipe and fittings left over from house renovations. Here's the back of the shower, I ran the pipes inside the bus because it had been raining all week and I just did not want to get under the bus in the mud. |  |
|
| Here's a view under the sink. The white box is the Atwood water heater. I originally had used rigid plastic fittings to attach the heater but they started to leak after the water heater had gone through several thermal cycles so I replaced the plastic fittings with pieces of hose. | 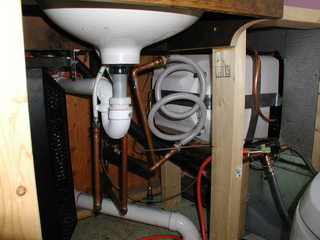 |
The sink came from
the town dump with the manufacturer's "Care and Installation" stickers still on it! |
